Cervical smear test, also known as cervical screening tests or Pap smears, are a vital procedure in detecting early cellular changes in the cervix caused by human papillomavirus (HPV). Identifying these changes at a pre-cancerous stage ensures timely treatment, reducing the risk of cervical cancer and improving women’s health outcomes.
This article provides a clear, step-by-step guide on how cervical smears are performed, the equipment required, and key considerations for patient care.
Why Cervical Smear Test Are Important
Cervical screening plays a critical role in:
- Detecting HPV-related abnormalities before they progress to cancer.
- Enabling early intervention for better treatment outcomes.
- Offering reassurance to patients when results are normal.
By conducting cervical smear test effectively, healthcare providers contribute to the early prevention of cervical cancer.
Equipment Required for a Cervical Smear
Performing a cervical smear test requires proper preparation and sterile equipment. The essentials include:
- Gloves
- Speculum
- Water-based lubricating gel
- Cervical cytology brush
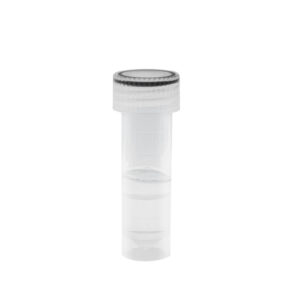
- Cytology specimen pot
- Gauze or paper tissue
- Adequate lighting
Preparing for the Procedure
Before beginning the test, healthcare professionals must:
- Wash hands thoroughly.
- Introduce themselves and confirm the patient’s identity.
- Explain the purpose of the test, the process, and possible mild discomfort.
- Check whether the patient is pregnant or experiencing pain.
- Inform the patient that light bleeding may occur afterward.
- Obtain informed consent.
- Ensure a chaperone is present.
- Ask the patient to empty their bladder if needed.
Patient Positioning
The patient should:
- Be exposed from the waist down.
- Lie on their back with ankles together and knees comfortably apart.
The clinician should wear gloves and begin with a vulva inspection, checking for abnormalities such as scars, ulcers, discharge, or lesions.
Using the Speculum
- Warm the speculum under running water and apply lubricating gel.
- Gently open the labia minora to view the introitus.
- Insert the speculum angled downward and backward.
- Rotate 90° so the handle points anteriorly.
- Slowly open the blades to expose the cervix and vaginal walls.
- Lock the blades in place.
Collecting the Cervical Sample
- Insert the cervical cytology brush through the speculum into the canal.
- Rotate the brush 360° clockwise five times to collect cells.
- Withdraw carefully without touching the speculum.
- Transfer cells into the cytology pot by swirling the brush in the fluid.
Completing the Examination
- Remove the speculum carefully while inspecting the vaginal walls.
- Allow the blades to close as they near the introitus.
- Inform the patient that the test is complete.
- Provide tissue for cleaning and allow the patient to redress.
- Dispose of equipment in a clinical waste bin.
- Label the cytology pot with patient details.
- Document findings or report them if required.
Conclusion
The cervical smear test is a simple yet crucial procedure in HPV detection and cervical cancer prevention. By following the correct steps, healthcare professionals ensure accurate results, patient comfort, and early intervention when necessary.


